The perfect guide to compress image to 200kb.
If you need to compress an image to 200KB, you can try different methods based on whether you are using Windows, Mac, Android, iPhone, or online tools. Here’s a straightforward step-by-step guide covering all the main simple methods.
- Method 1: Firstly, you are to compress the image to 200KB using online tools (a simple method). This works well if you prefer not to need to install any software. –
- Step 1: Now open your URL browser. Open Google Chrome, Edge, or any browser. –
- Step 2: Now Open Image Compression Website Visit any of these trusted websites: TinyPNG, iLoveIMG, Compress JPEG, Squoosh
- Step 3: Here, Upload Image Click the Upload button and select your image.
- Step 4: Here Adjust File Size Some websites let you: Set a custom size (enter 200 KB) Use a quality slider. Gradually reduce quality until the file size reaches 200KB or less.
- Step 5: Download Click Download and save the compressed image. Done.
- Method 2: Compress to 200KB in Windows Without Software You can use Paint, which is already installed on the PC.
- Step 1: Using mouse right Click on Image Click → Open with → msPaint –
- Step 2: Perform Resize Image and Click Resize → Choose Pixels Reduce the width (for example, from 4000px to 1200px) Keep “Maintain aspect ratio” checked. Click. OK –
- Step 3: Save As JPEG format. Click: File → Save As → JPEG picture. JPEG format gives a smaller size. –
- Step 4: Perfectly Check Size Right-click the image → Properties → Check if it is near 200KB. If it is still large: Repeat resizing and lower the pixel count further.
- Method 3: Compress to 200KB Using Photoshop—
- Step 1: now you open the image file → Open—
- Step 2: Now Export for Web File → Export → Save for Web (Legacy) –
- Step 3: Here, select JPEG. Choose: Format: JPEG Quality: Reduce (50–60%) You can see the file size preview in the bottom left. –
- Step 4: Then adjust the quality decrease until the size shows near 200 KB.
- Step 5: Finally, save professional-quality compression done.
- Method 4: Compress to 200KB Using Squoosh (Advanced Control)
- Go to Squoosh .
- Steps: Now here is uploading the image. Then select the format: JPEG. Perform Adjust the quality slider. Then resize the image width (if needed). Check the live file size preview. Download when it is near 200KB. Use the best for precise control.
- Method 5: Compress to 200KB on Android Phone
- Option 1: Right here: Using an app to download on your smartphone: Photo Compressor: Photo Image Size from Google Play.
- Steps: Install the app. Open the image. Choose “Compress.” Set custom size → 200K B. Save.
- Option 2: Without App (Online) Use: TinyPNG, cscdesigner, and iLoveIMG. Upload → Compress → Download.
- Method 6: Compress to 200KB on an iPhone
- Option 1: Use an app. Download a compression app from the App Store.
- Option 2: Use a website. Open Safari → Use TinyPNG , Squoosh, or www.cscac.in.
- Important Tips to Reach Exactly 200KB If your image is very large (5MB+), consider the following steps: –
If we need to reduce the resolution of the image, for example, from 4000×3000 to 1200×900 or 1000×750. – Convert PNG to JPEG. PNG files are larger. JPEG files are smaller. – Lower Quality to 50–60%
Most images look fine even at 60%. Shows the final result.
Best Settings for 200KB Target Image Type Recommended Width Quality Passport Photo 600px 70% Website Image: 1200px, 60%; ID Card: 800px, 65% Document Scan 1000px 50% Common Problems & Solutions: Image Still Above 200KB – Reduce the width more. – Lower the quality. – Convert PNG to JPEG. If the image looks blurry, then increase the quality slightly. – Here, do not go below 40%.
- Tips for Website Owners Since you run an electronics and MLM website, compressing images to 200KB helps:
- Faster website speed.
- Better Google ranking.
- Lower hosting load.
- Better user experience.
We even use WordPress plugins (like Smush).
Automatic compression tools.
Here is the finally quick formula. To compress an image to 200KB: Convert to JPEG. Resize the width between 800 and 1200 px. Set quality to 50–70%. Download and check the size.
Related question and answer.
Q1. How to Compress an Image to 200KB Without Losing Quality?
ANS:
1: Need to first Convert image to JPEG
PNG is bigger. Use JPEG format.
2: Resize image
Reduce width to 800–1200px.
3: Use Smart Compression Tool
Use:
- Squoosh
- TinyPNG
- I love image.
- Csc designer
4: Now here, adjust the quality slider.
Keep it between 60% and 75%.
Step 5: Download when size is near about 200K. B.
Tip: The file format shouldn’t be reduced below 50% quality to avoid a blurry result.
Q2. How to Make Passport Size Photo Under compress image to 200KB?
ANS:
1: Now resize to 600×600 pixels
2: Save as JPEG
3: Set quality to 70%
4: Check file size in Properties
If still large:
Reduce to 500×500 pixels.
Best tools:
- iLoveIMG
- Compress JPEG
Q 3. How to Compress an Image to 200KB in Mobile (Android)?
ANS:-
1: Install compression app from
Google Play
Search: Photo Compressor
2: Open image
3: Select “Custom Size”
4: Enter 200KB
5: Save image
✔ Done.
Q4. How to Compress an Image to 200KB for a Government Form?
ANS:-
Many Indian forms require an image under 200KB.
1: Scan photo in 150–200 DPI
2: Resize width 600–800px
3: Save as JPEG
4: Reduce quality to 60%
5: Check file size
Use:
- Squoosh
Q 5. How to compress image to 200KB exactly?
ANS:-
1: Upload image to Squoosh
2: Enable Resize
3: Adjust width slowly
4: Move quality slider
5: Watch live file size preview
Adjust until it shows 198–200KB.
✔ This method gives exact control.
Q 6. How to Reduce Image Size From 5MB to 200KB?
ANS:_
1: if we need to Convert PNG → JPEG
2: Resize from 4000px → 1000px width
3: Set quality 50–60%
4: Save and check size
If still above:
Reduce to 800px width.
Q7. How to Compress Image to 200KB in Windows Without Software?
ANS:
1: using mouse cursor Right-click the image.
2: Open with → Paint
3: Click Resize
4: Reduce width to 1000px
5: Save As → JPEG
6: Check file size finally and download it.
Repeat resize if needed.
Q 8. How to Compress Image to 200KB in Photoshop?
ANS:_
Using Adobe Photoshop in system
1: Need to first open image
2: File → Export → Save for Web
3: Select JPEG
4: Reduce quality to 55–65%
5: Check preview size
6: Save
Q9. Best Free Website to Compress Image to 200KB?
ANS:
Trending Tools:
- Csc designer
- TinyPNG
- Squoosh
- iLoveIMG
✔ All are free
✔ No registration needed here.
Q 10. Why Is My Image Still Above 200KB?
ANS:_
Here I mention below Common Reasons:
❌ Resolution too high.
❌ PNG format.
❌ Quality set too high
❌ Image has too much detail
Solution:
✔ Reduce width
✔ Lower quality
✔ Convert to JPEG

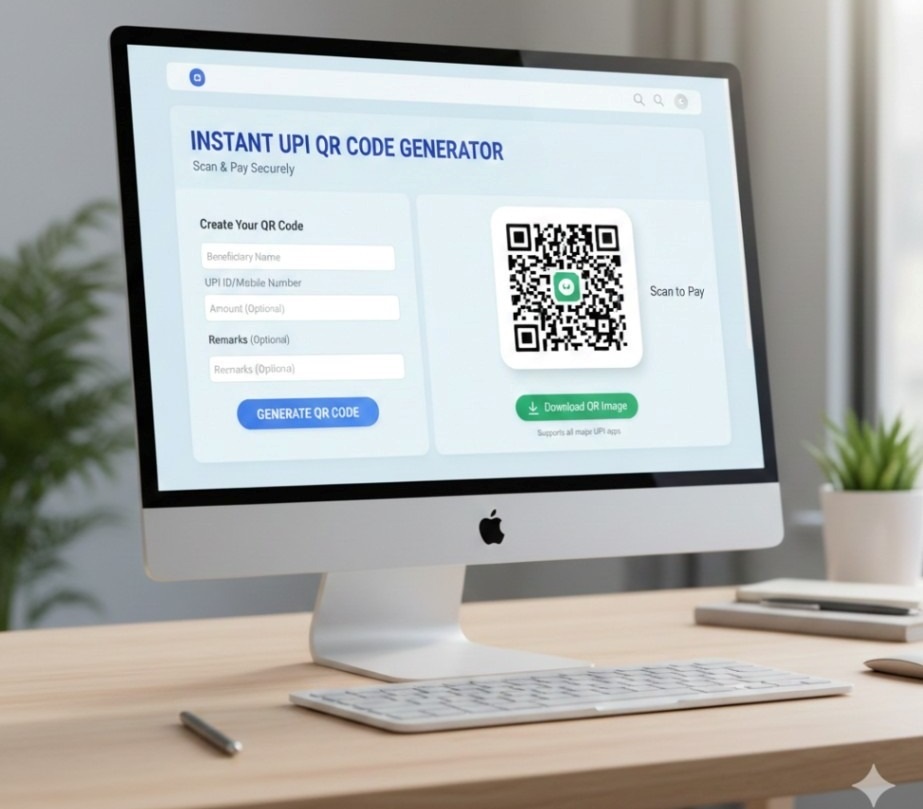
 Universal UPI QR Code Generator